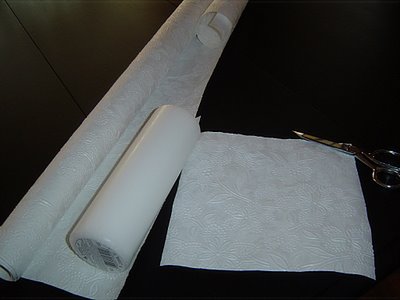
Michael's is a great source for nice, inexpensive white pillar candles in all sizes. First, I rolled my candles onto the wrong side of the paper and drew out the measurement. Then I cut out the size I needed.
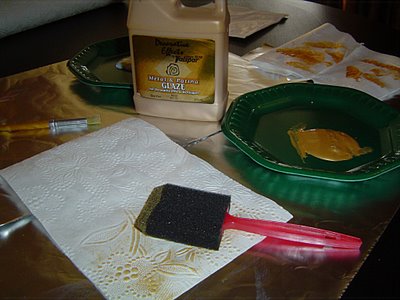
 I covered my work surface and used foam plates for my paint and my glue. The paint I used was some I already had, but an acrylic paint would be fine. Elmers Glue or a sticky craft glue are both fine as well. I used a foam brush for the paint. The MOST important thing to remember is to use a very DRY brush. Dip it into the paint and then use paper towels to blot it almost completely dry. Then, paint across the high, embossed spots very carefully. Play with it until you get it to look like you want it to.
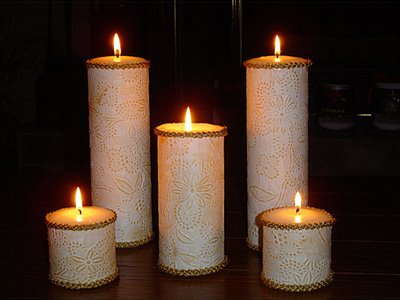
Allow to dry, then brush the back with the glue and apply it to the candle. I also glued on some gold trim that I already had on hand.

This is how they turned out. The whole project probably took me about an hour and a half. I will show how they look on my table in a later post.


5 comments:
You are soooo awesome! I love those candles!
I know you don't usually do this, but I have tagged you for a meme.
Come by and check me out to see what you HAVE to do. Just kidding. You don't have to, but it would be great if you would.
The candles are absolutely beautiful. Whenever I find some of that spare time I would love to try them. Thanks for a very creative idea.
What do you do when the candle burns down to the paper?
Uncle Wayne, you are way too logical!!! Yet, that is a very challenging and perplexing question. The ones I have done before have burned straight down the middle.I think the paper must help stabilize it.
I was thinking that you might need to use the more expensive candles that do just burn straight down, but you said that you use inexpensive ones.
Post a Comment