
 This is my second installment of my tie dye adventures. I was inspired by the anticipated arrival of my grandson to try a onesies project. Please refer to my first post for any basic instruction, such as types of dye, etc.
I bought onesies at Walmart and prewashed them. I dampened them with water before I dyed them. For this one, I did the spiral technique. Place a fork at the center of where you want the spiral and begin to twist it.
 Continue twisting...
 Once you have twisted it into a circle, add rubber bands and apply dye to the front and back of each section. I used orange, yellow, lime green, and brown.
This is how it turned out.
 After I finished each one, I wrapped it in plastic wrap and let it sit for several hours. I understand that there is a microwave technique that will set the heat but I haven't tried that yet.
 You can also section it off like this:

 I did several solid ones. They still had a mottled, hand-dyed look, which I liked.
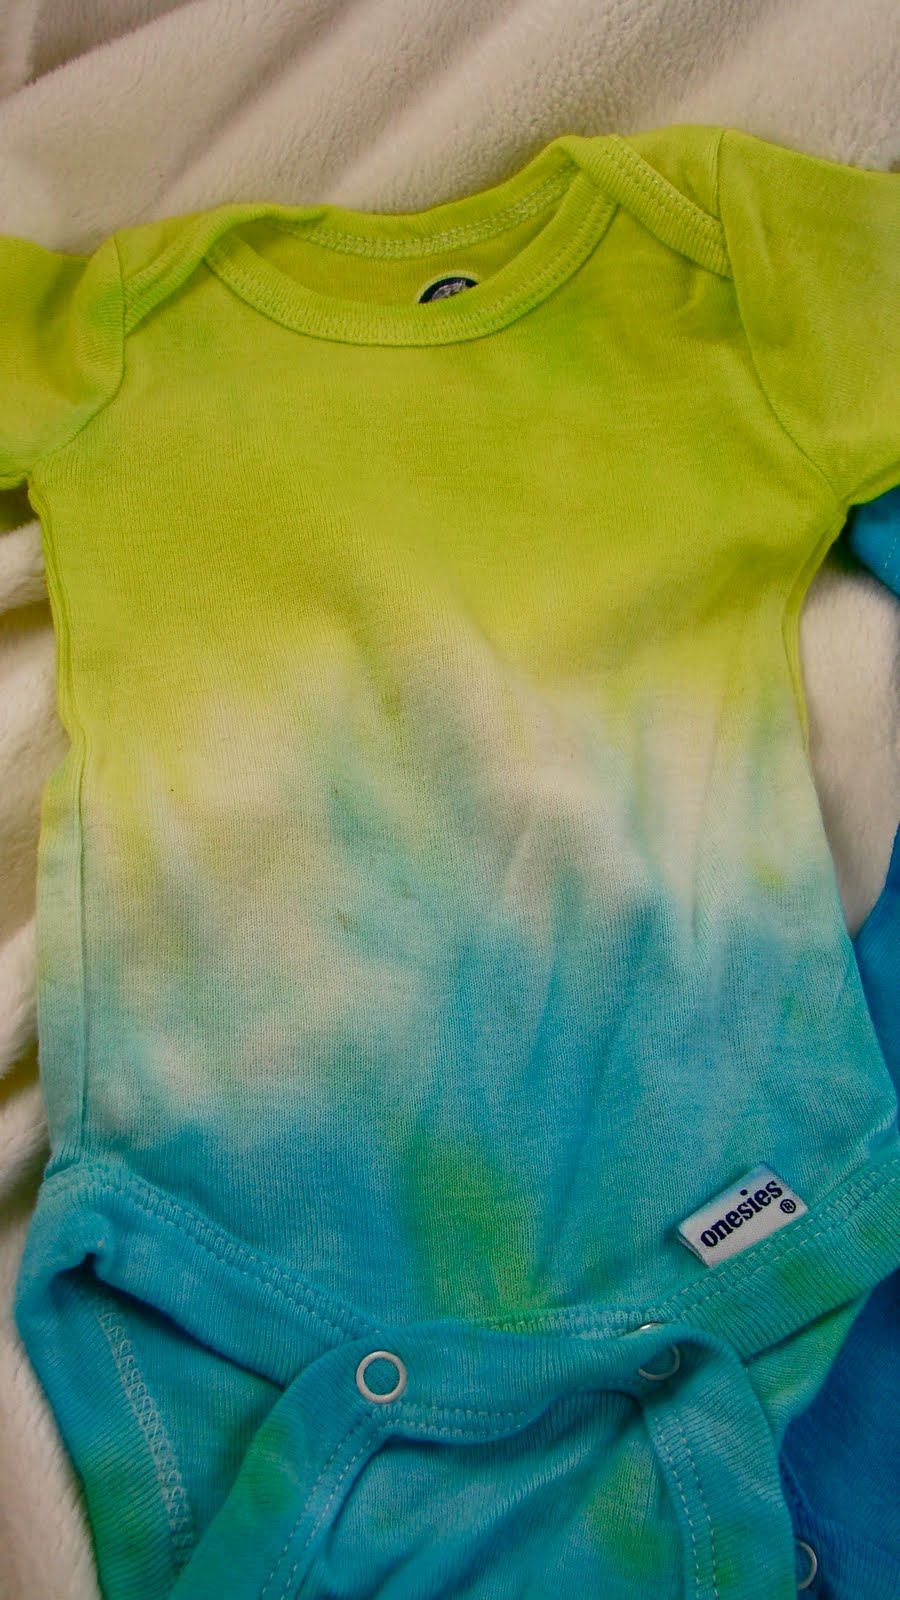
 I placed the rubber bands on the middle of this one. I don't have the pictures of it, but I dyed the onesie a turquoise color and the sectioned-off part a denim blue.
 I made a pair of white knit pull-on pants and dyed them a solid denim blue to match the onesie.
 And this is the outfit. The pants looked stonewashed.
 I hope this helps to give you some fun ideas for tie dyeing onesies. It is a fun and inexpensive project and it makes a great gift. I will be posting a lot more fabric dyeing ideas soon!
4 comments:
These are just too cute! Whenever I clothes crafts as gifts, I think of the shirt your kids made for me with their cute little handprints all over it. It was so sweet! Long after we had moved away, it reminded me of your sweet family every time I wore it.
Thank you for that sweet memory. I hope you are doing well.
Nice work Vickie!
Thank you Diedra!
Post a Comment