

I love to tie dye. If I could establish a lucrative career creating clothing and accessories out of hand-dyed fabric, I would do it in a heartbeat. But since no one is beating my door down to buy my creations as of yet, I guess I will stick to just doing it for fun.
I had so many pictures that I decided to divide my tie dye projects into two parts. This post will cover the basics, and part two is going to be how to tie dye onesies for babies. Even divided into two parts, this post is really long. Hopefully some of my trial and error will be helpful to you so that you are happy with your results.
I have tried two kinds of dye. One is the basic powdered Rit dye which has been around for as long as I can remember. It is very inexpensive and can be found at Walmart as well as most grocery stores. Rit dye is very intense and concentrated. It also comes in a liquid, which I haven't tried yet, but plan to. It seems more convenient and easier to mix to create other colors. Rit has a fabulous website which gives tutorials on various techniques and recipes for your own color creations. You can order from this site as well. Go here to see it.
 There are also Tie Dye kits by Tulip, which are very convenient. They offer a variety of colors, such as turquoise, fuschia, and lime green. These are available at Walmart, Michaels, Hobby Lobby, and Hancock.
Tulip recommends soda ash to soak your shirts in before dyeing them. It is supposed to make the color adhere better. I honestly can't tell that it helps. And it smells weird. Whether you use soda ash or not, your shirt should be prewashed and damp before you tie dye.
 Be sure to cover your surface with large plastic bags. The dye can leave permanent stains.
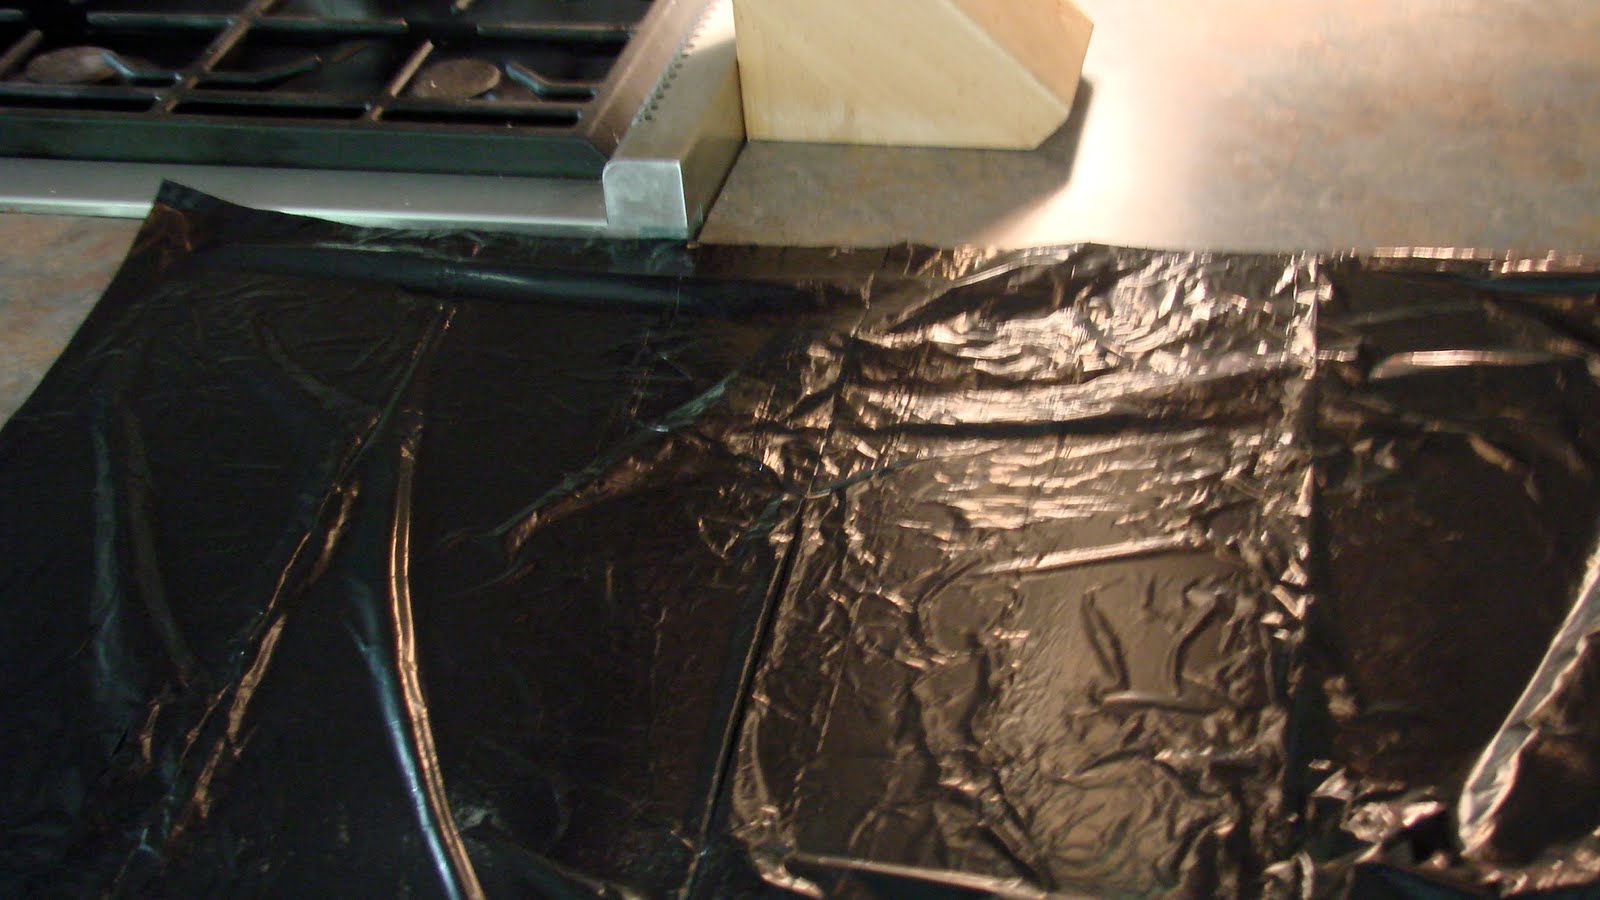 Have plenty of zip lock bags or saran wrap handy. You will need to let you shirts sit and cure for several hours. This is hard to do, by the way. I am always so curious to see how they turned out and I rarely wait as long as I should.
 So, the items you will need are:
t-shirt, etc to dye (prewashed and damp)
dye of choice
rubber bands
rubber gloves
squirt bottles (Walmart-kitchen section-99¢)
large garbage bags to protect counter or table
ziplock bags or saran wrap
One easy thing I've done is just to dye a t-shirt all one color. I poured the whole package of dye into a large pot of boiling water and dissolved it. Then I dipped the shirt into the dye. The two factors that determine the intensity of the color are how hot the water is and how long you leave the shirt in the dye. I always save some of the dye I make and pour it into squirt bottles because it is reusable and it keeps for a long time.
 Here is a shirt that I dyed pink. I left it in the dyebath for about 30 minutes. It is just a Hanes t-shirt (men's small) that I got in a pack of 5 at Walmart. I love how it turned out. It is really soft and comfy and looks cute with jeans.
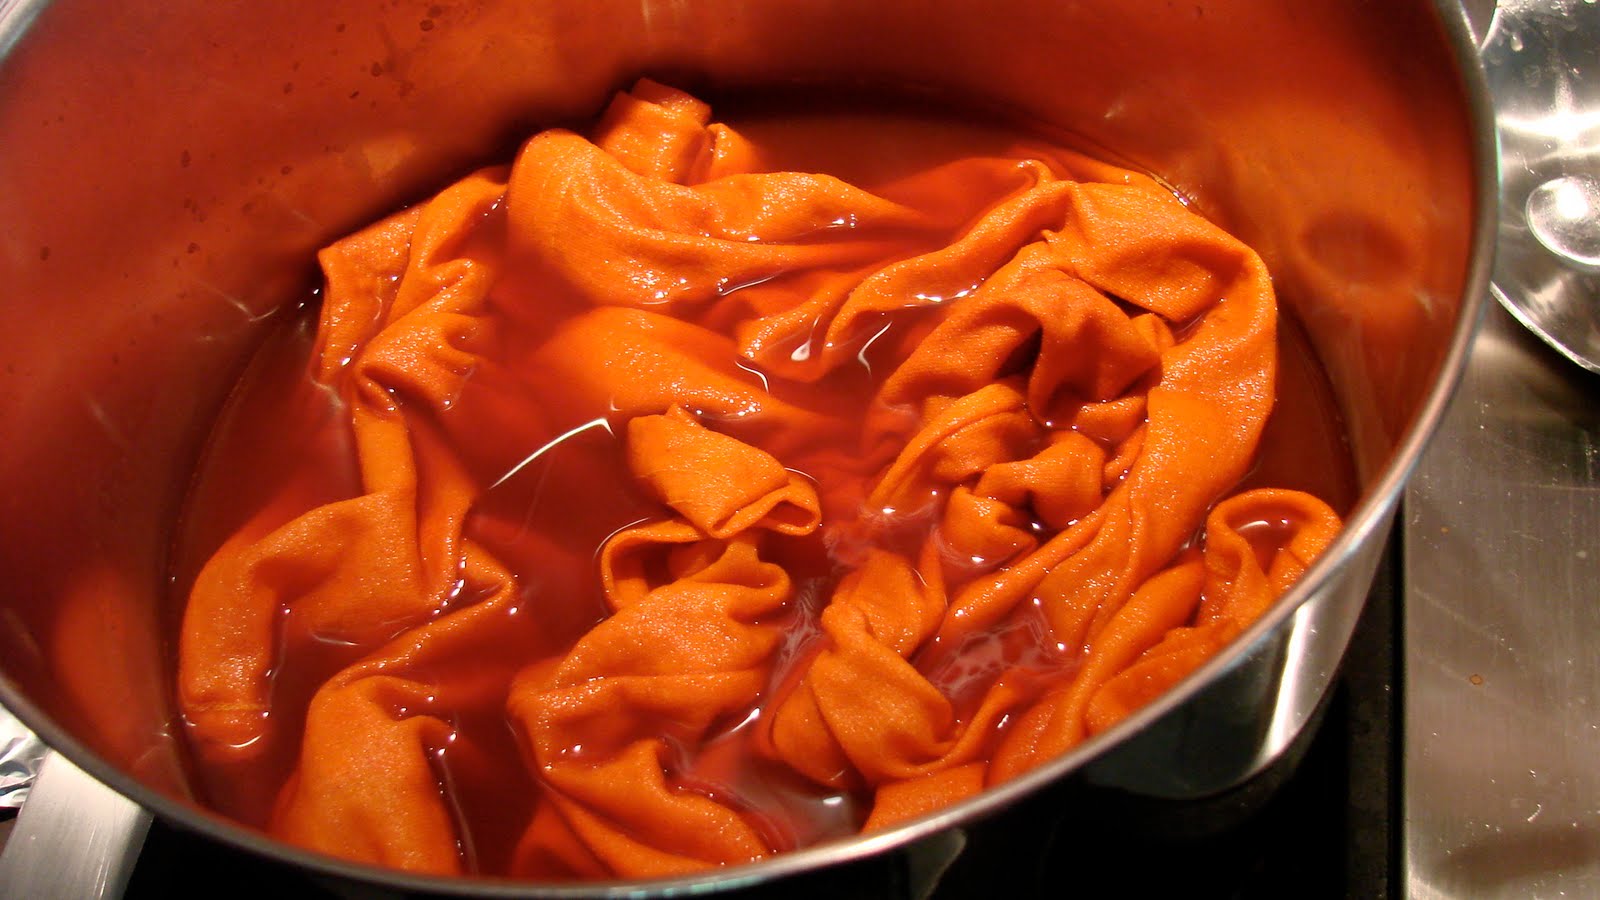
I bought a plain beige t-shirt at Hancock (they are in the tie dye section) and decided to dye it orange. I left it in the water for about 15 minutes, stirring it every once in a while.
 I took it out of the water and squeezed it out in the sink, being careful not to burn my fingers. It seemed a little boring to me, so with the middle of the shirt as my starting point, I placed rubber bands around it about an inch apart for a total of 6.
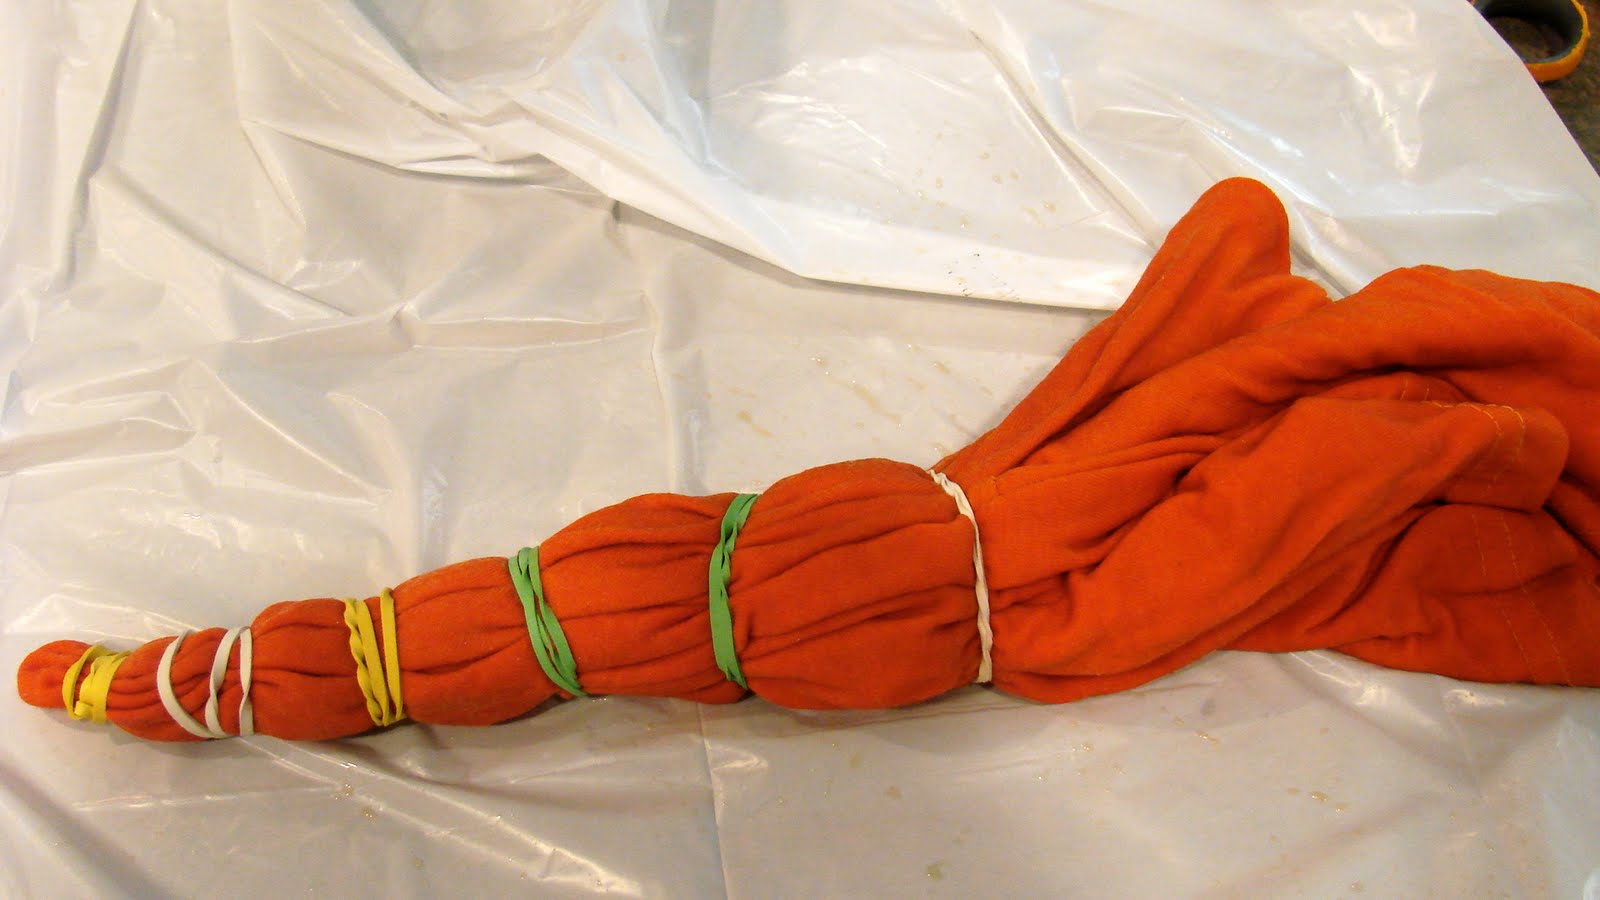
I filled a squirt bottle with 1 part clorox and 1 part water and shook it up really well. Then I squirted it onto every other space between the rubber bands. I let it sit for about 8 hours, then rinsed and washed it.
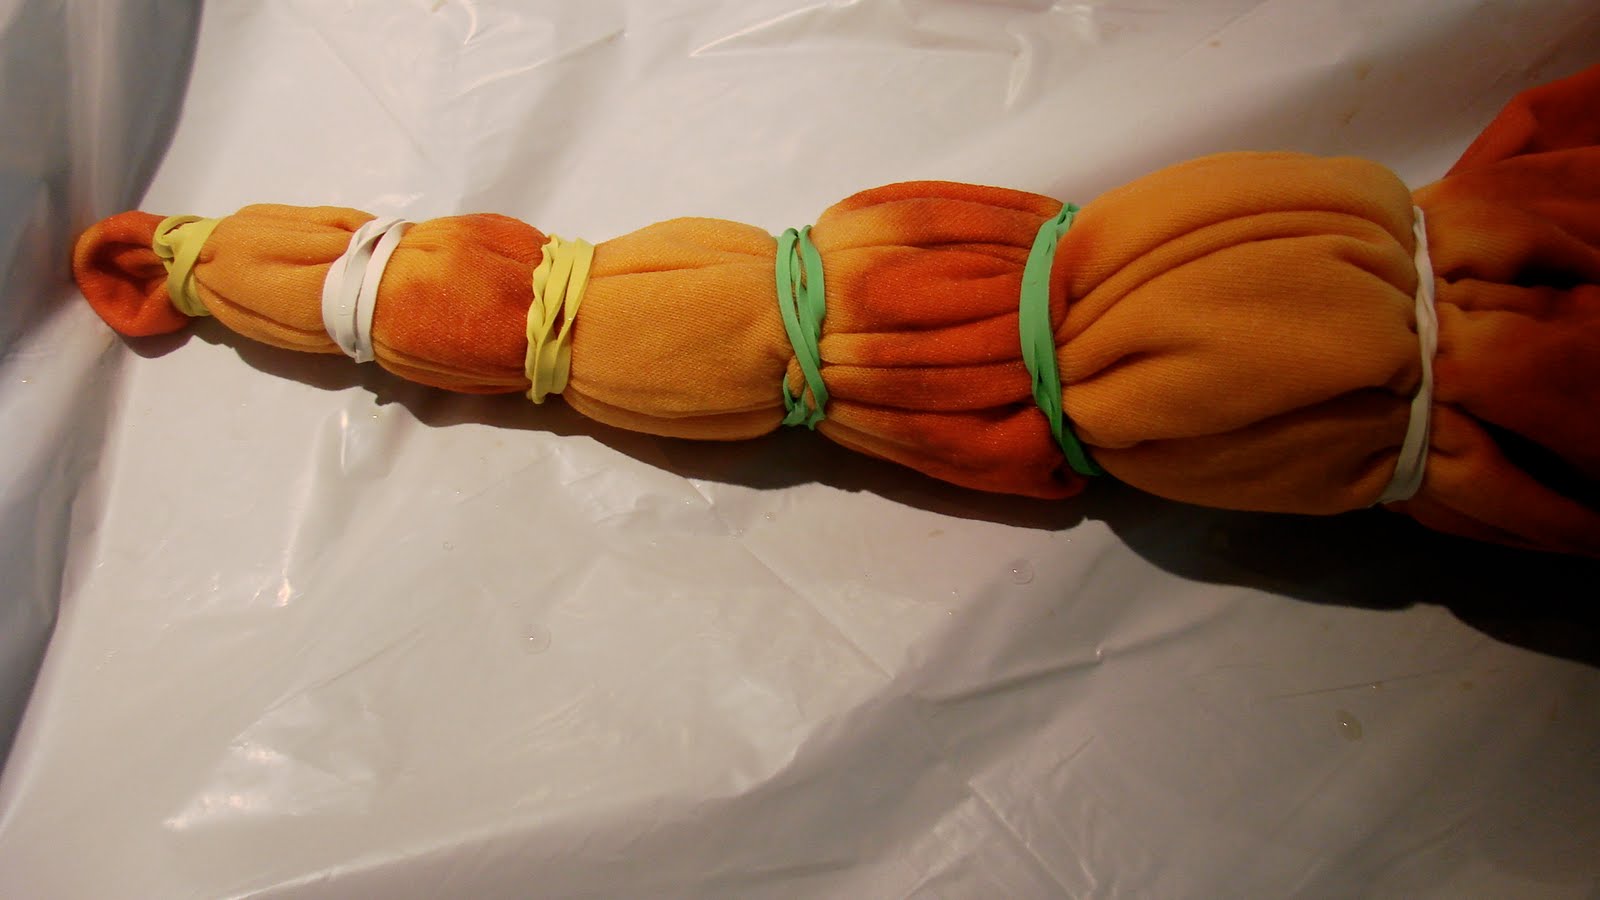
This is how it turned out. Very funky.
 I had a plain white t-shirt that I got on a trip. I livened it up a little by dyeing it turquoise. I liberally squirted the Tulip dye onto it while scrunching it up in my hands.
 As you can see, it ends up a much lighter color once it dries. I really like it, though. Much better than the white.
I have dyed several tank tops. Hancock has these nice simple white ones. They usually run $3.99-$4.99.
 I divided it into 3 sections with rubber banding and added a different color to each section.
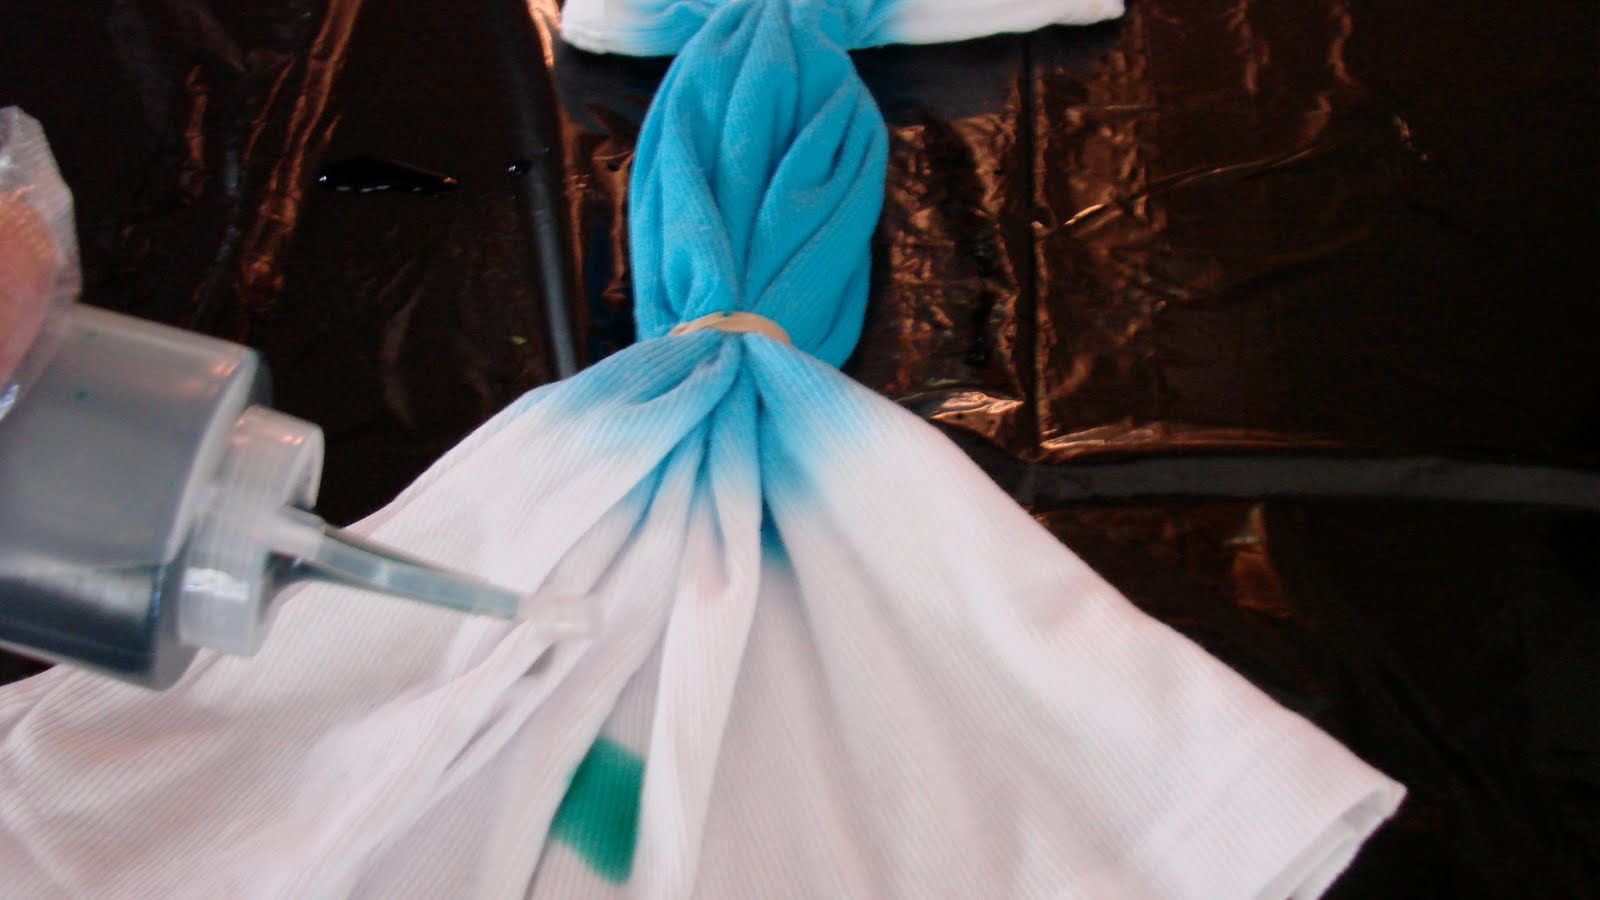
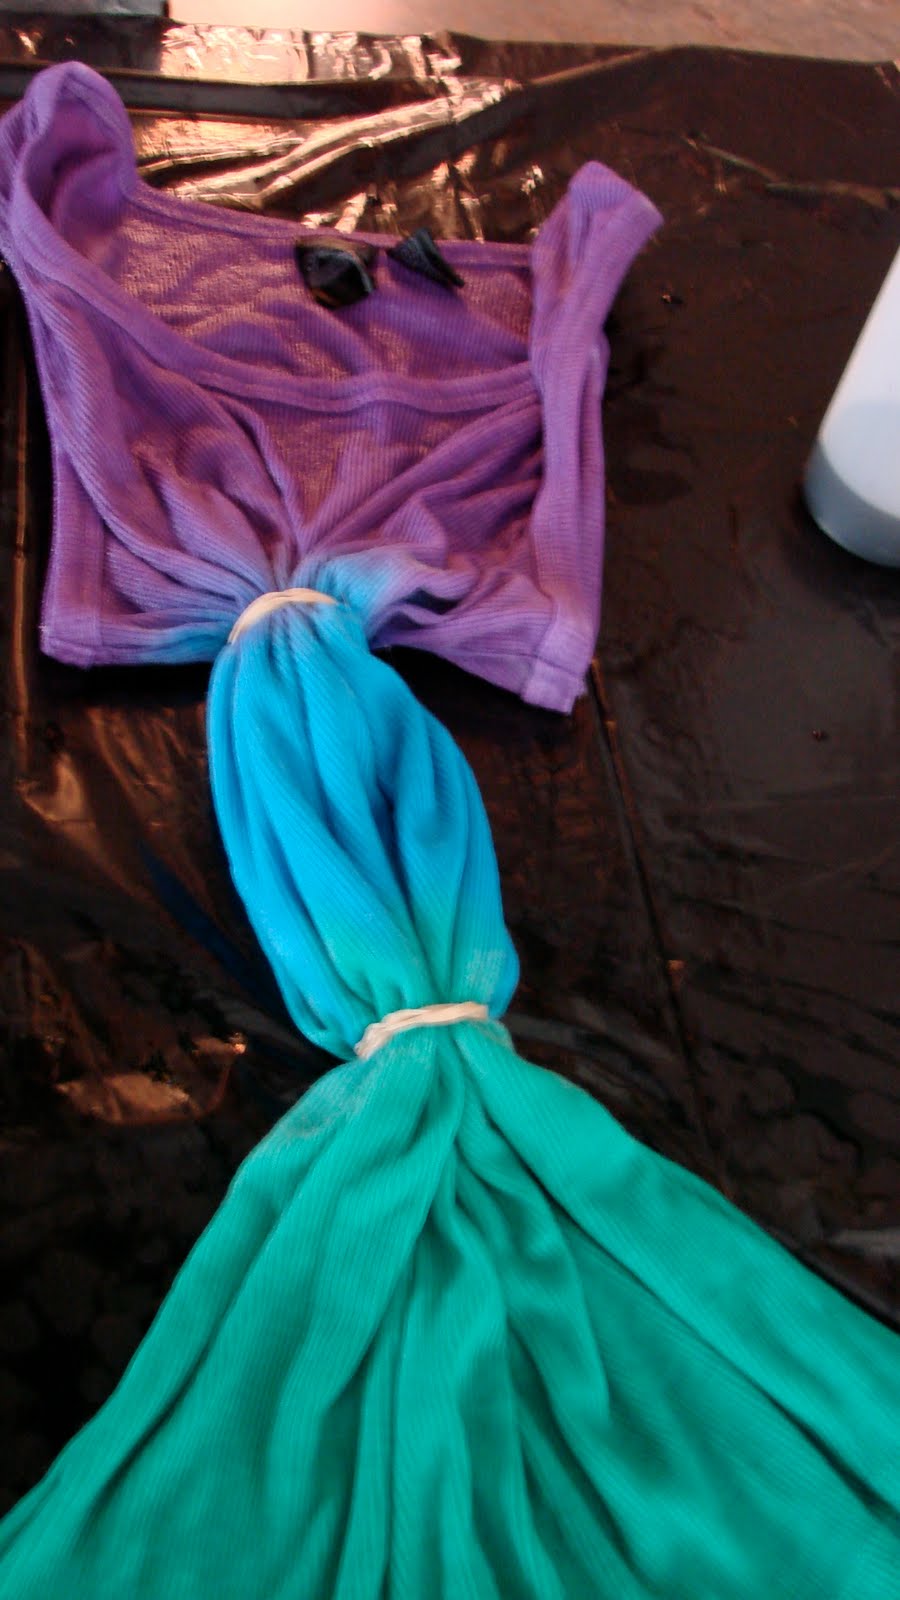 Here is how it looked. This is also after several washings. If I do this color combination again, I will put the purple in the middle. The turquoise and green are a little too similar and blended into each other a little too well.
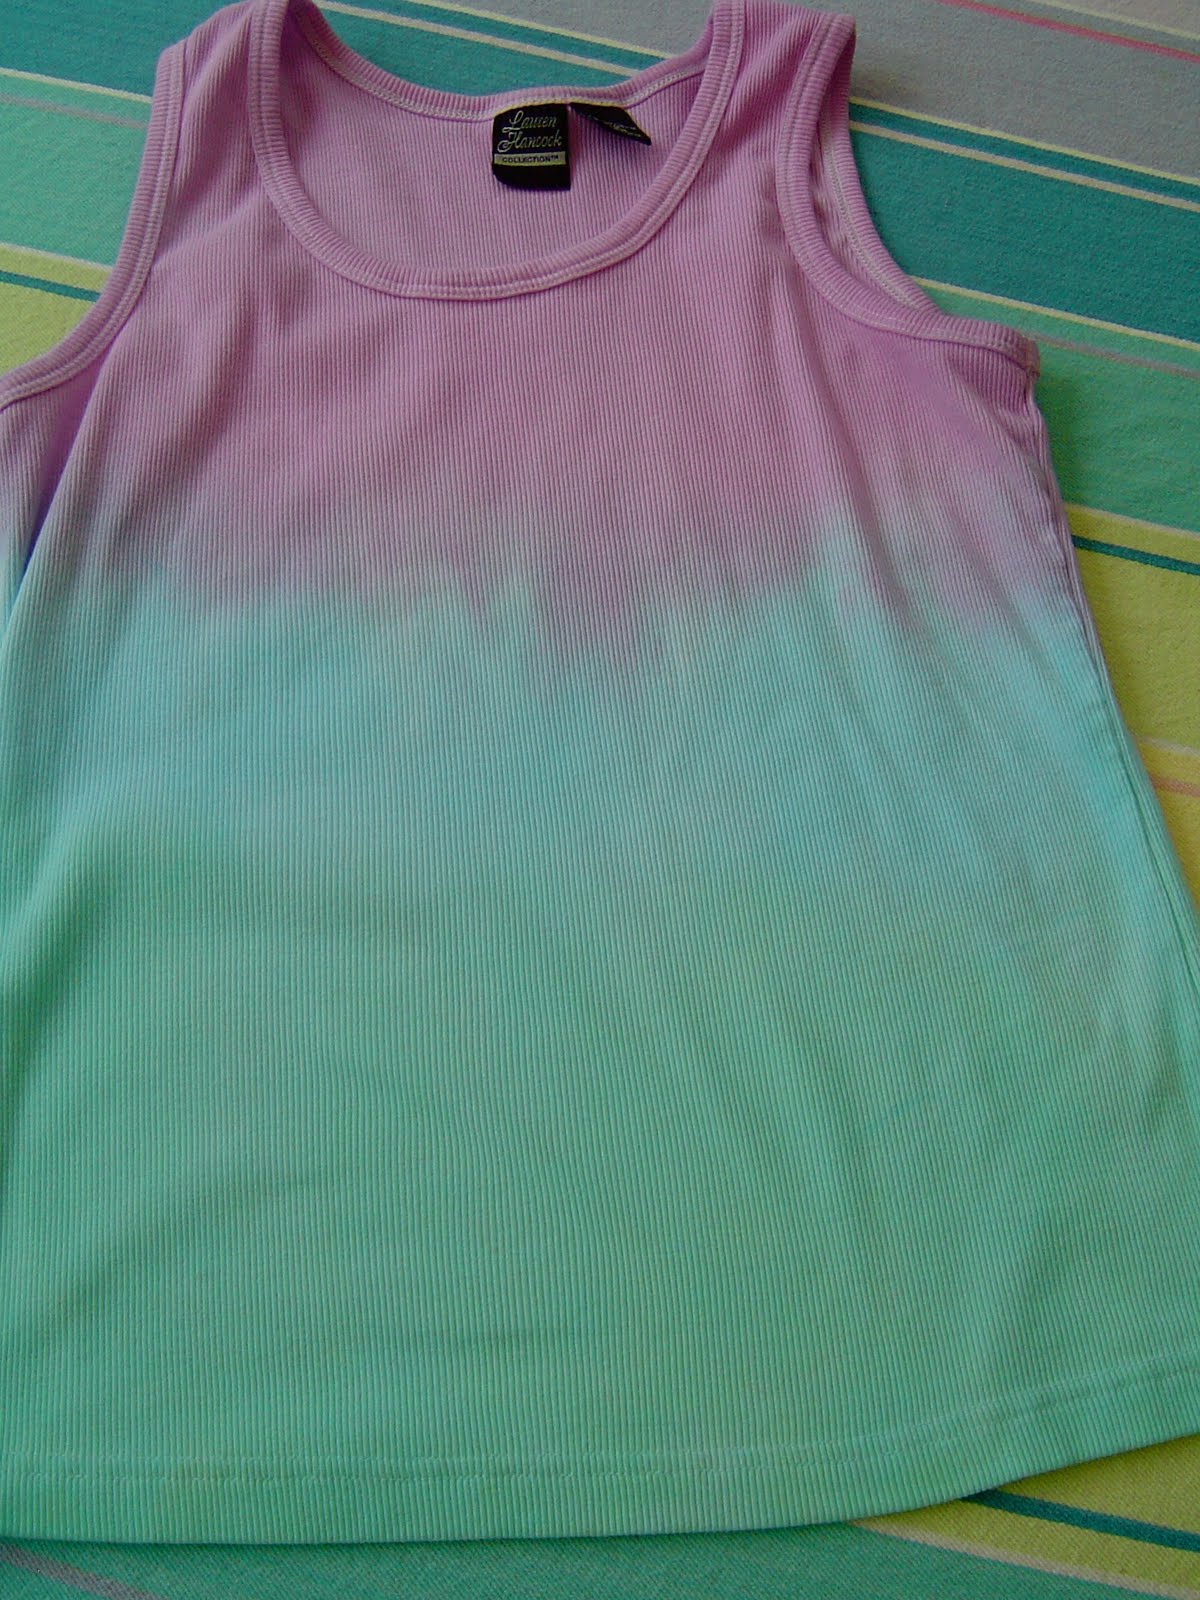 This is another Hanes t-shirt.
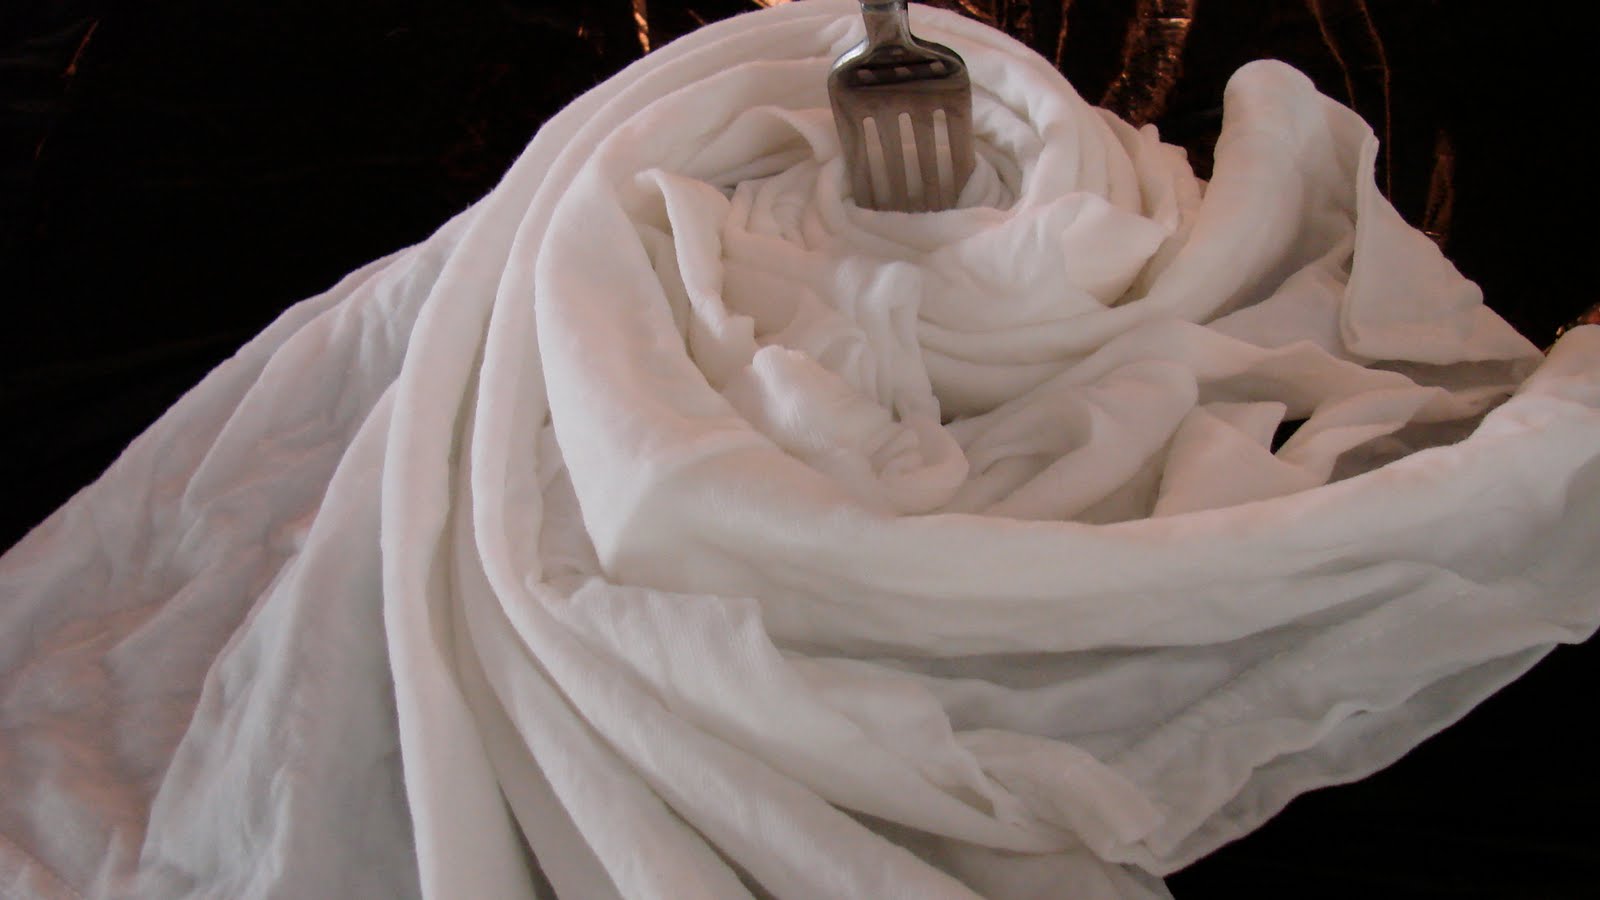
 The spiral technique is one of my favorites and it's very easy to do. First decide on where you want to center the inner circle. Then place a fork on that spot.
 Begin to turn the fork clock-wise, twisting the fabric along with you.
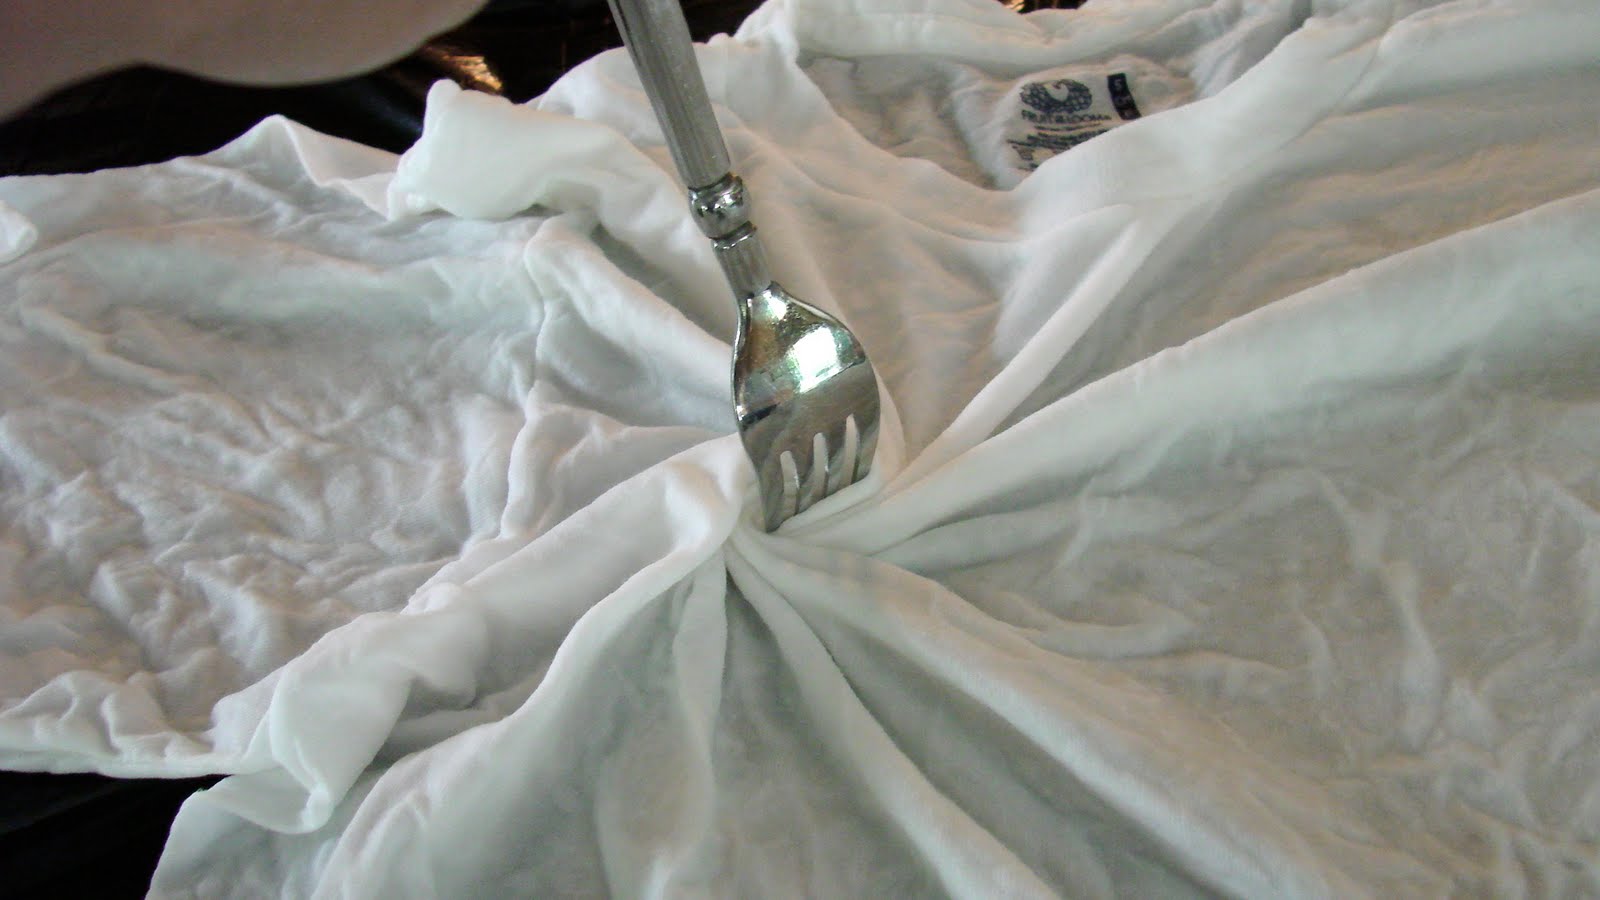 Continue turning the fork...
 ...until you have a circle, kind of like a cinnamon roll.
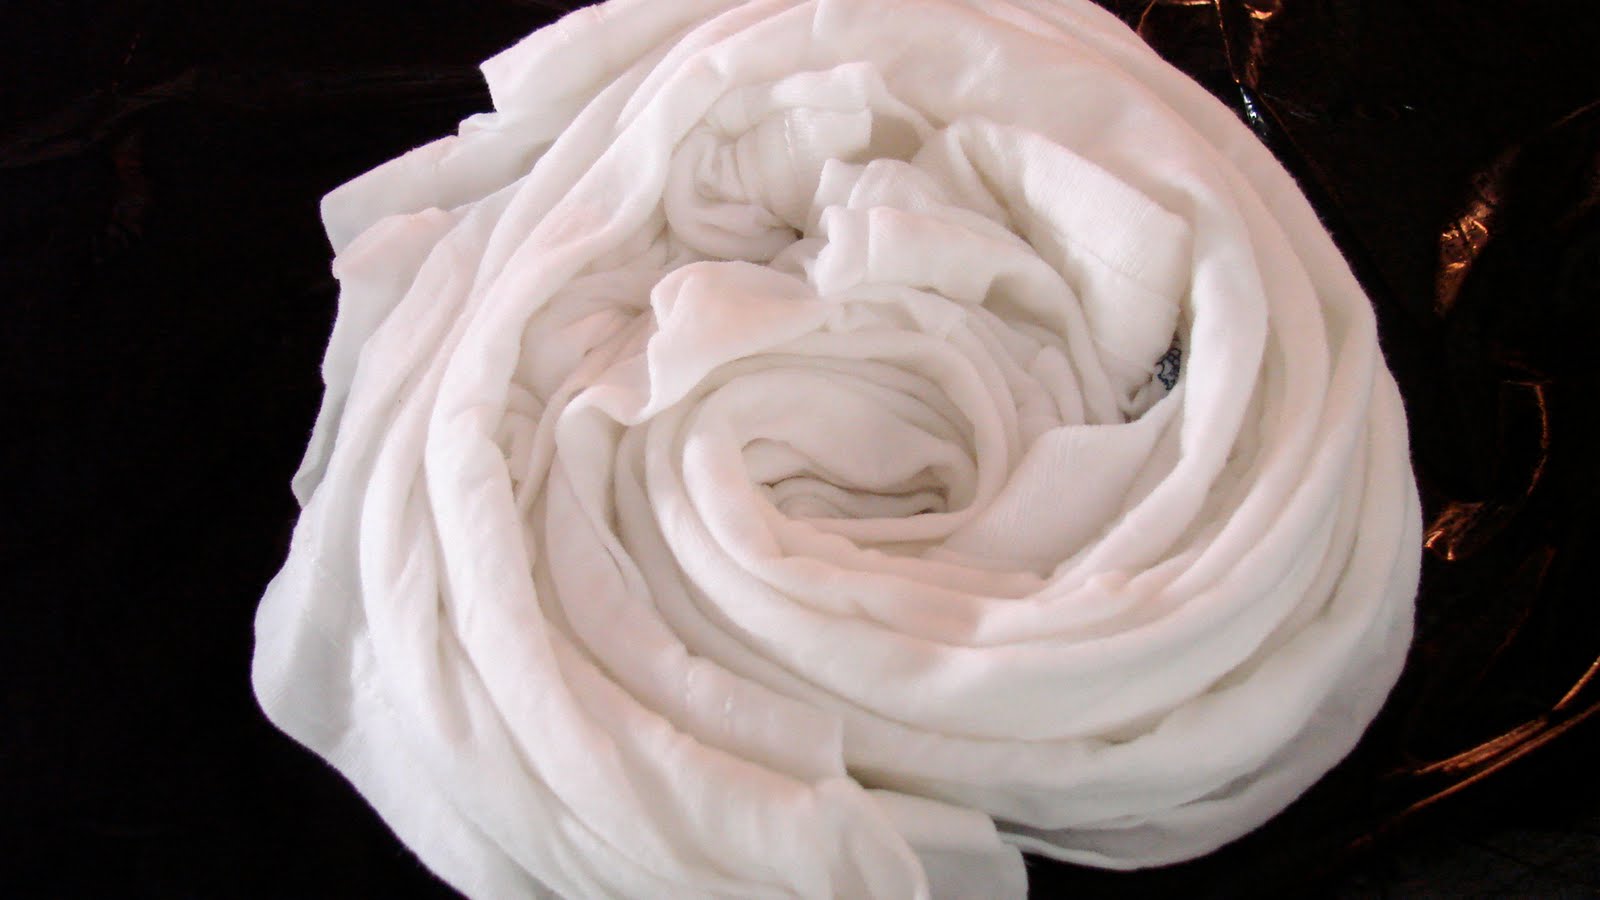 Place rubber bands across the circle and divide the shirt into 4 or 6 sections.
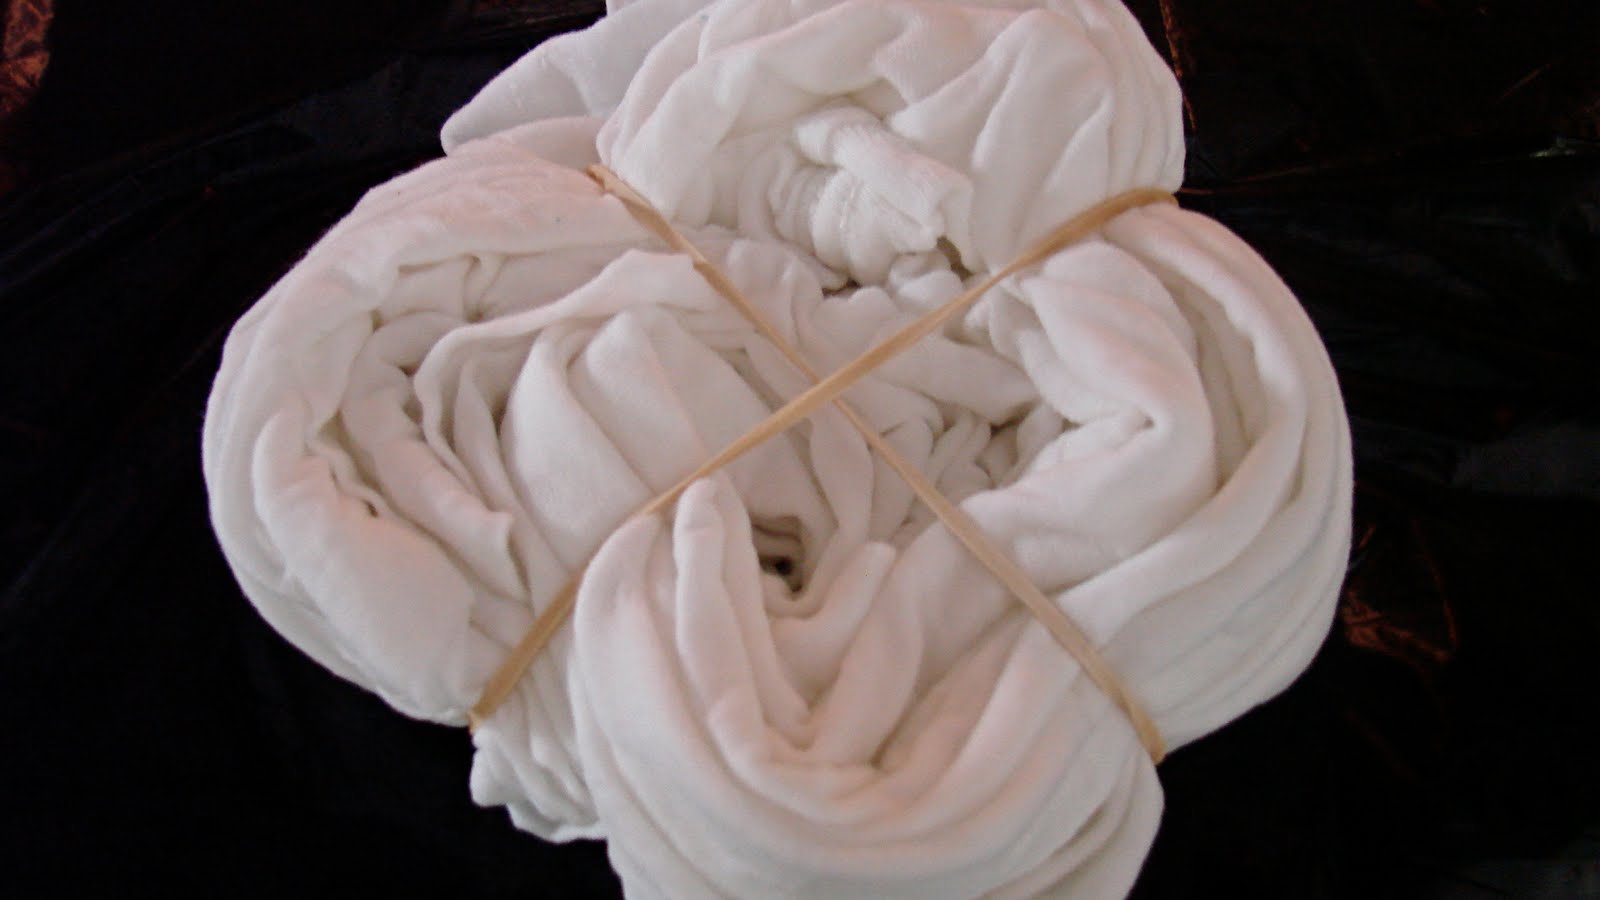 Color each section on the top, them flip it over and color the bottom as well.
 This is how that shirt turned out.
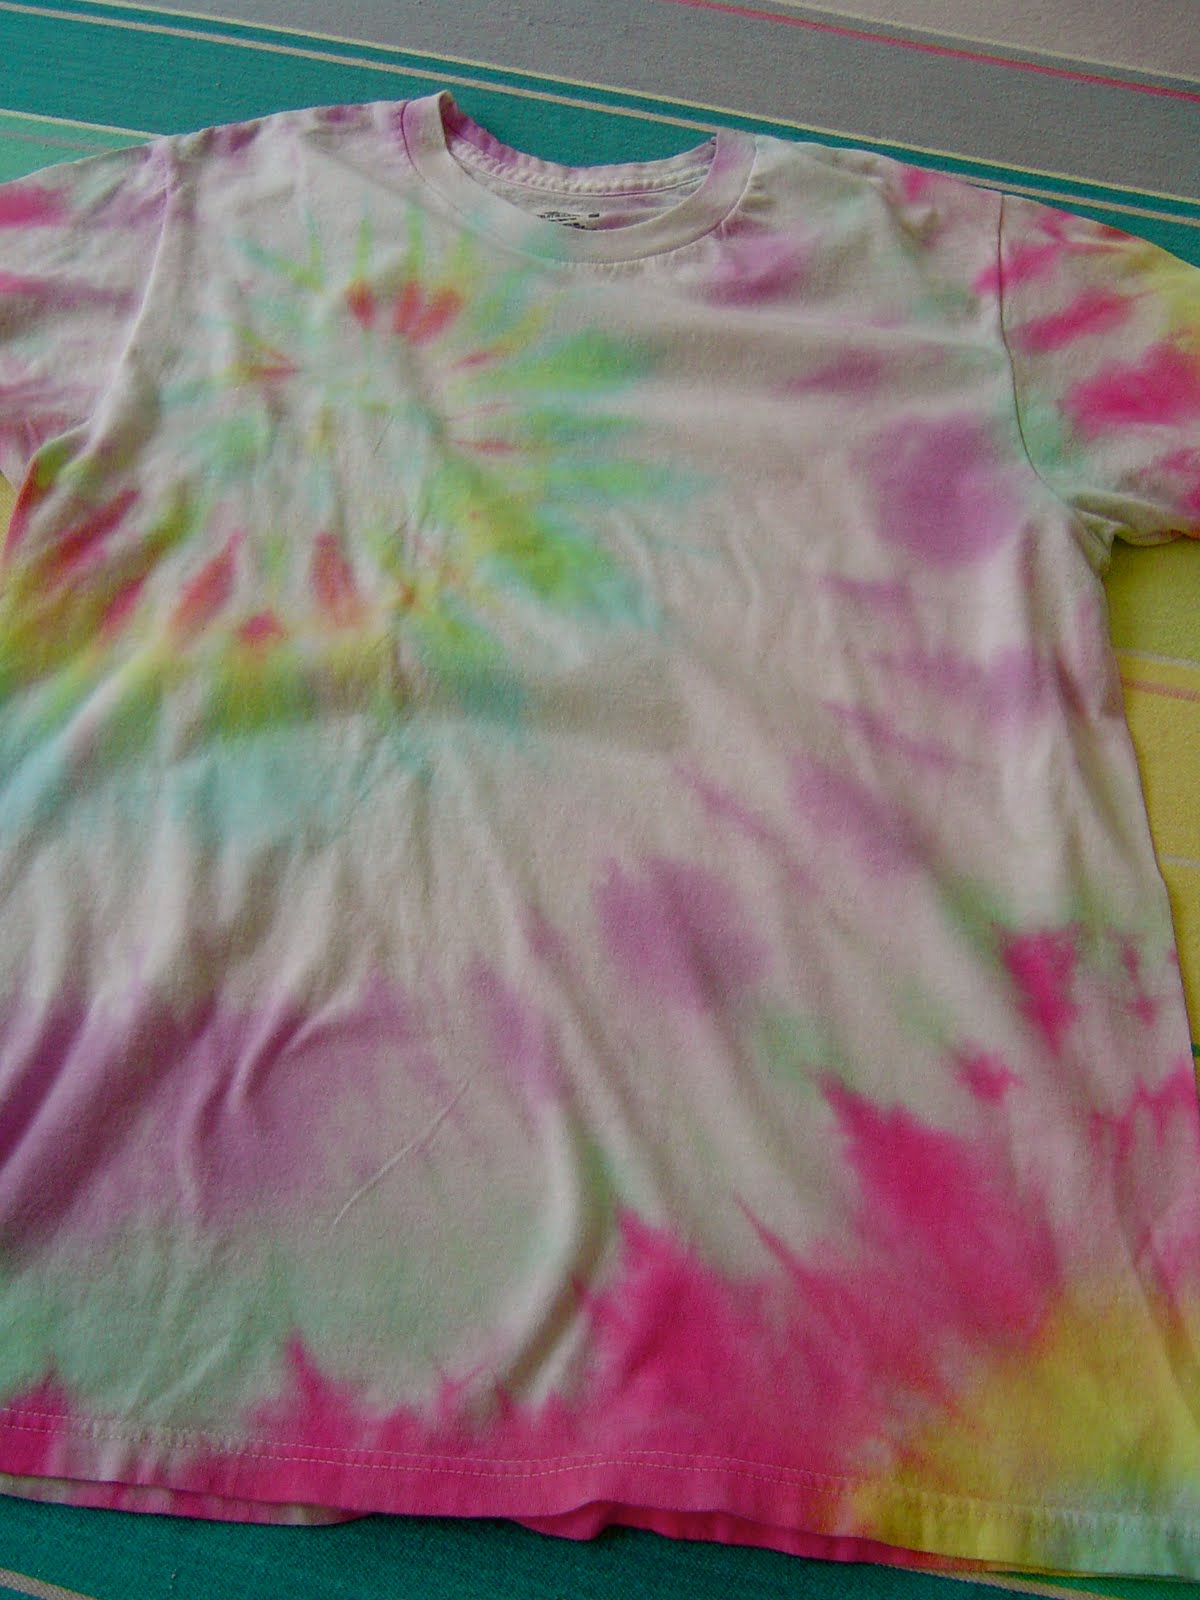 This is a cool shirt that Amby made for me. It is one of my favorites.
 You can also dye a shirt to match something. I had some army green shorts and I dyed this tank top to match them. I used camo colors, but added a touch of purple to make it more girly.
 Most importantly, be careful washing any clothing that has been dyed. I always hand wash mine a couple of times first. Then I wash in cold water only with like colors. The color can bleed onto your other clothes.
I hope that this lengthy tutorial is helpful. Stay tuned for more.
6 comments:
How fun is that?! Thanks for posting it Vickie. I am going today to buy the dye.
Thank you, Sheryl. I hope you enjoy it as much as I do.
Very cool. I love tie dye items. When my kids were younger when tie dyed tissue paper. Their gifts for friends b'days were always wrapped in it.
How fun! I have never heard of that. I would love to try it!
OH! Tie Dye! Im a hippie and I like tie dye too! Dont drink it....learned that the hard way. I hate showers!
-Karl Powers
Kari, I have heard that if you drink tie dye, you dream in technicolor. Try baths.
Post a Comment